
(Before we get started, a QUICK NOTE: A founding tenet of this blog is to put out content quickly, not put out monster posts sporadically. As such, I will not be adding things like sources, citations, formatting and well-lit pictures.)
I can have some pretty paranoid tendencies. Among them is a distrust for publicly accessible phone charging stations, like the kind you see in airports, or even on the airplanes themselves, which provide a USB port to any lonely traveler. (There have been cases of malicious hardware being added to these charging stations so that the charger will attempt to remove data from the device, in addition to charging the phone.)
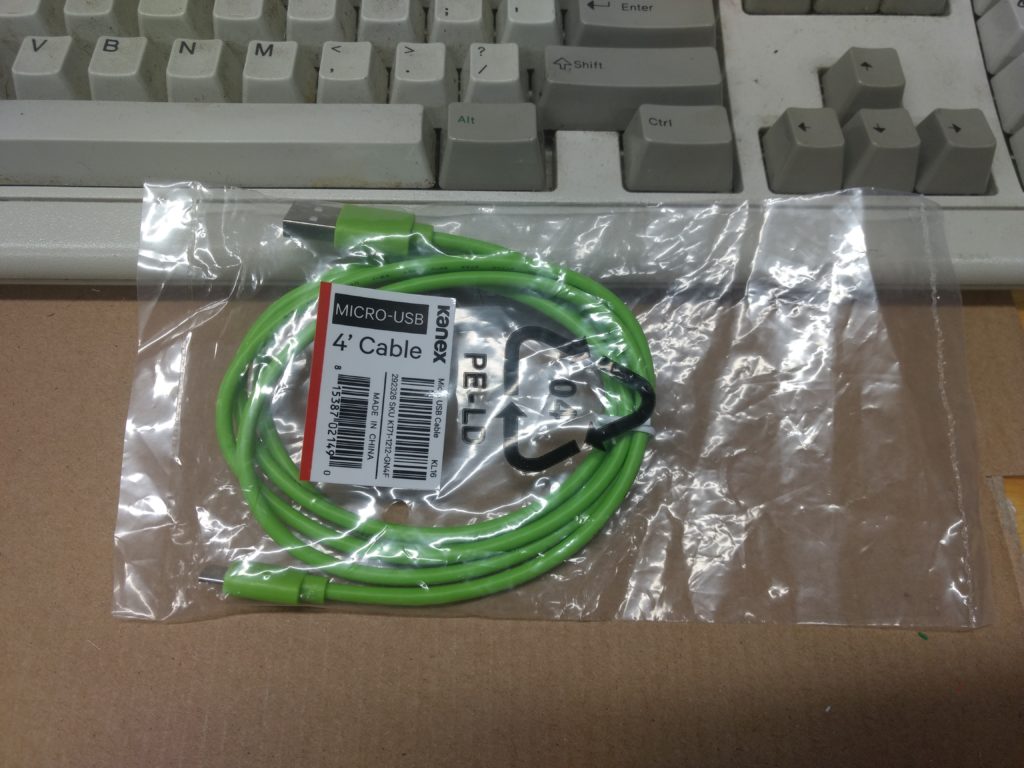
So far I have not needed to use these charging stations (although sometimes it would have been nice,) but recently when I tried to charge my phone in my car via the USB, the car tries to pair with the phone and do things other than charging it. So I decided to make a “power-only USB cable” (You can also buy one). This is just a cable that has does not have the wires used for transmitting data connected between the two ends. For this purpose I bought two cheap MicroUSB cables from Microcenter for like $4 each.
(ANOTHER NOTE: For the purposes of this post, I am referring to an Android smartphone. This should work on anything that is powered via MicroUSB cable, which would include things like Arduinos and (I guess older/cheaper) Android smartphones. DO NOT CUT UP YOUR IPHONE CABLE.)
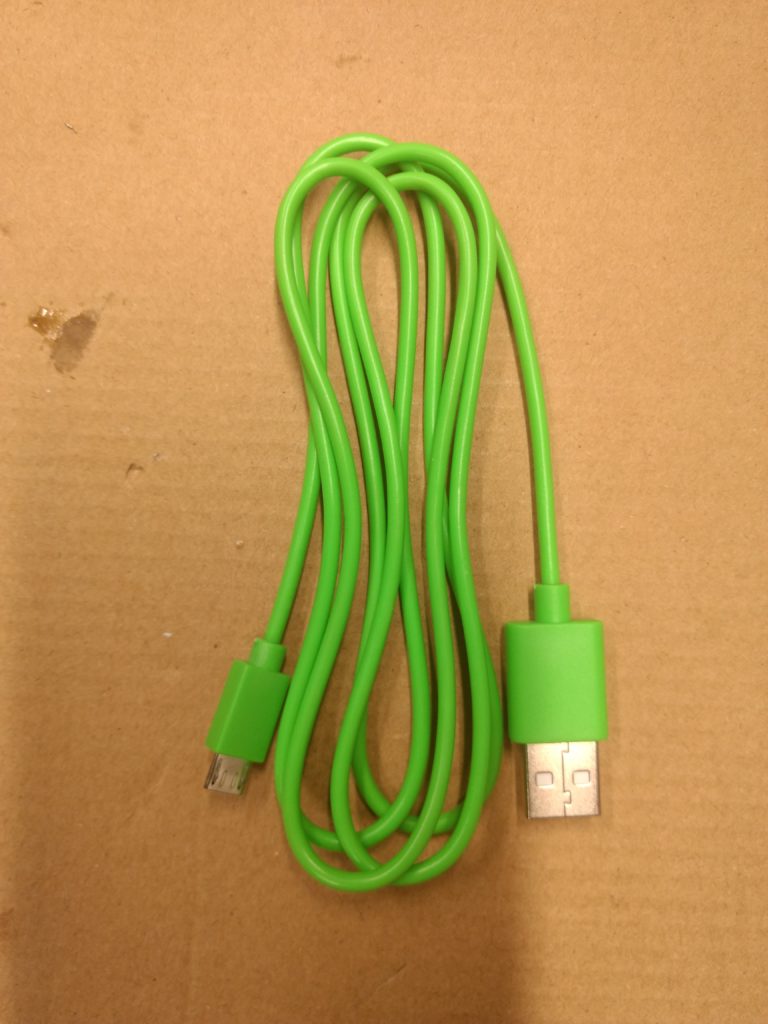
Start by cutting the cable open like that time you dissected a giant worm in biology class:
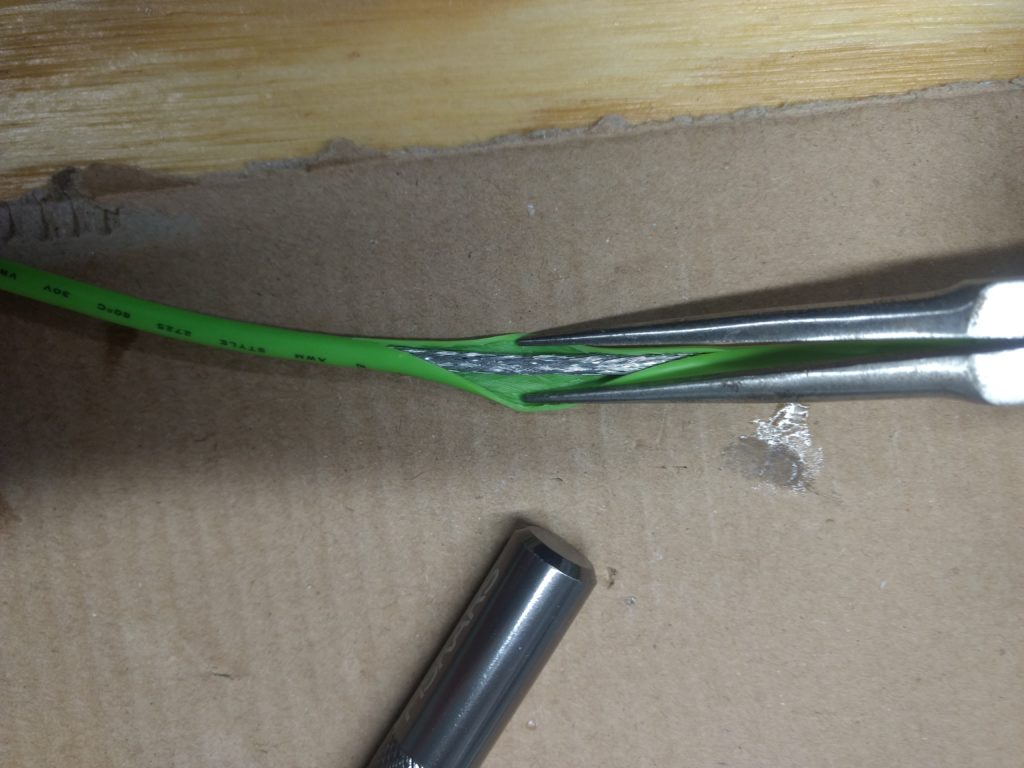
Cut through the shielding to expose the wires inside:
This is the important part:
A USB cable has four wires inside, two for power (usually a RED one and the BLACK one), and two for data (the GREEN and the WHITE). This one had an orange one for some reason. You are going to CUT THE GREEN AND WHITE WIRES.
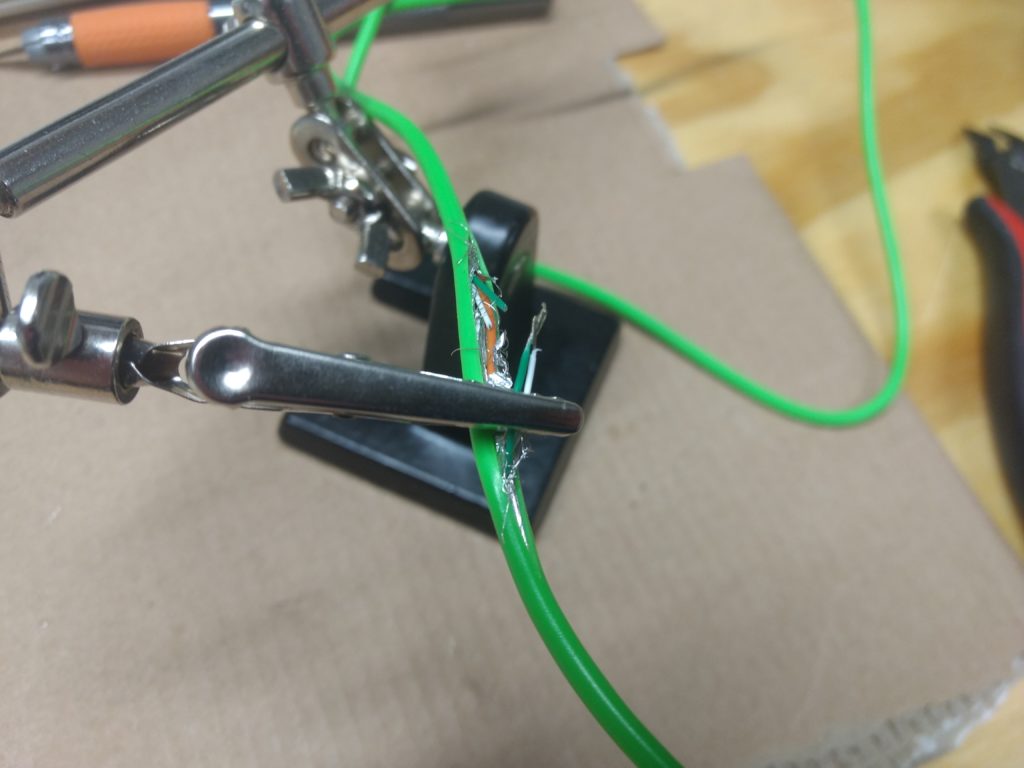
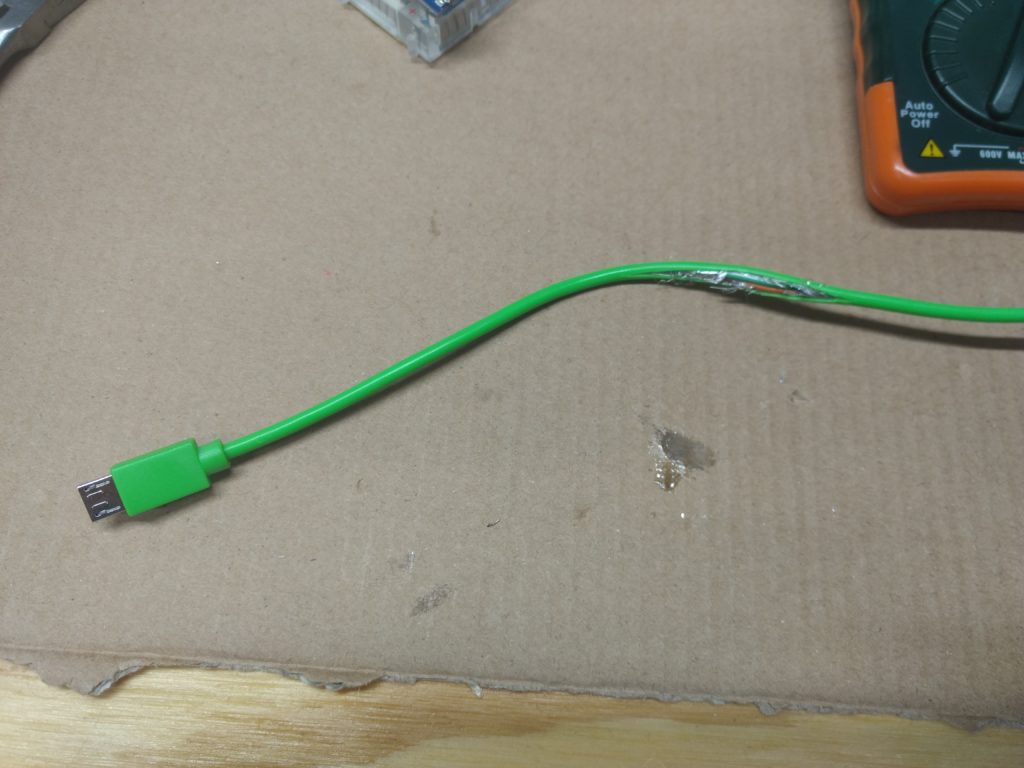
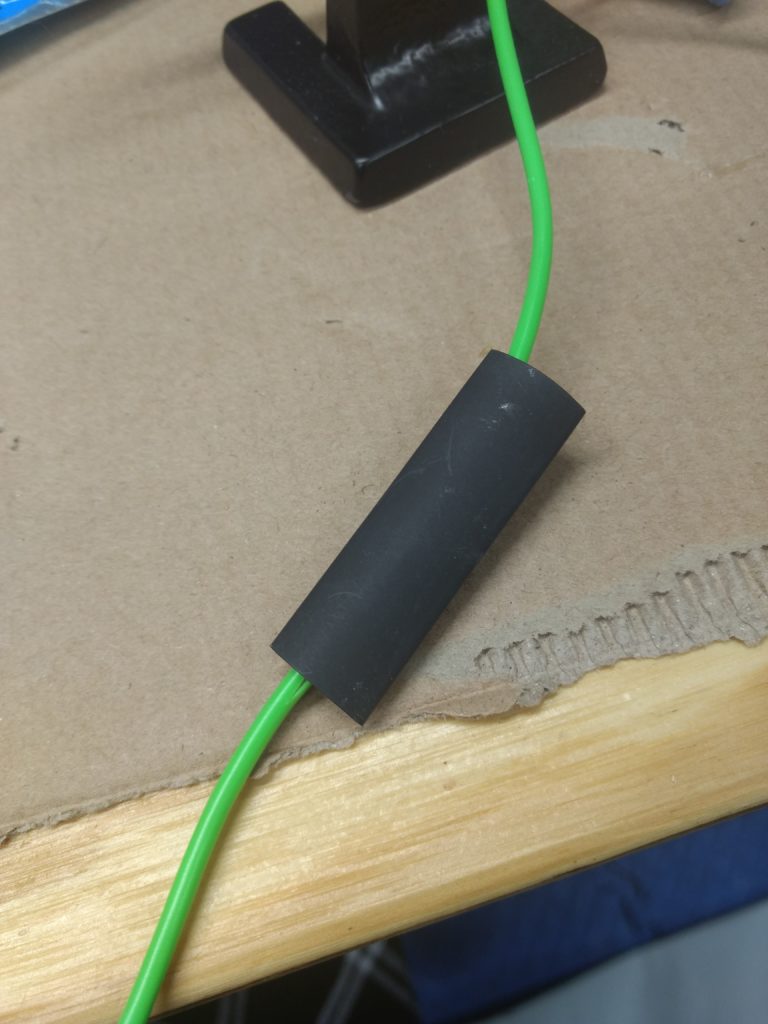
Then if you have the tools, you are going to solder them together on the MicroUSB side of the cable. (However, your device might not require this. I was able to change my phone off my computer before I soldered the wires together.) Once they are soldered together, put some heat-shrink on both sides to prevent shorts. To be extra safe I trimmed one of the wires on the non-soldered side so the ends were not close together.

Then add some more heat-shrink over top of the whole thing:
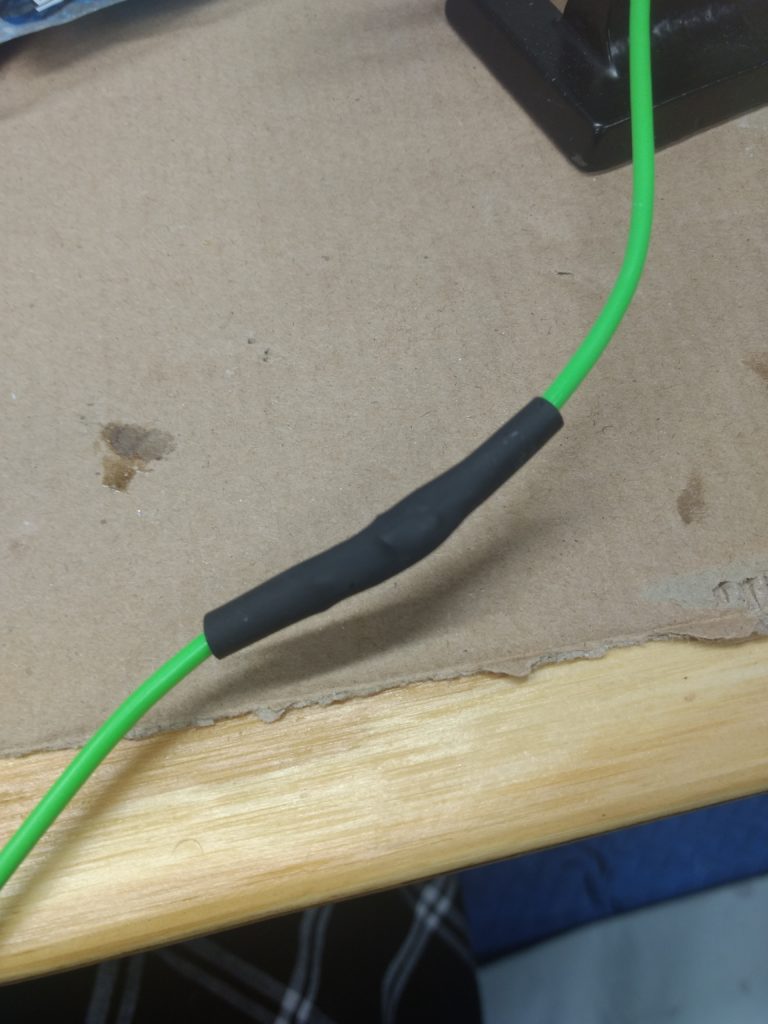
That’s it! And it makes a great conversation starter for your next flight! YOU’RE WELCOME.