These things were so awesome I had to start another blog to talk about it. (It’s this blog. This is the one I started.)
Behold!
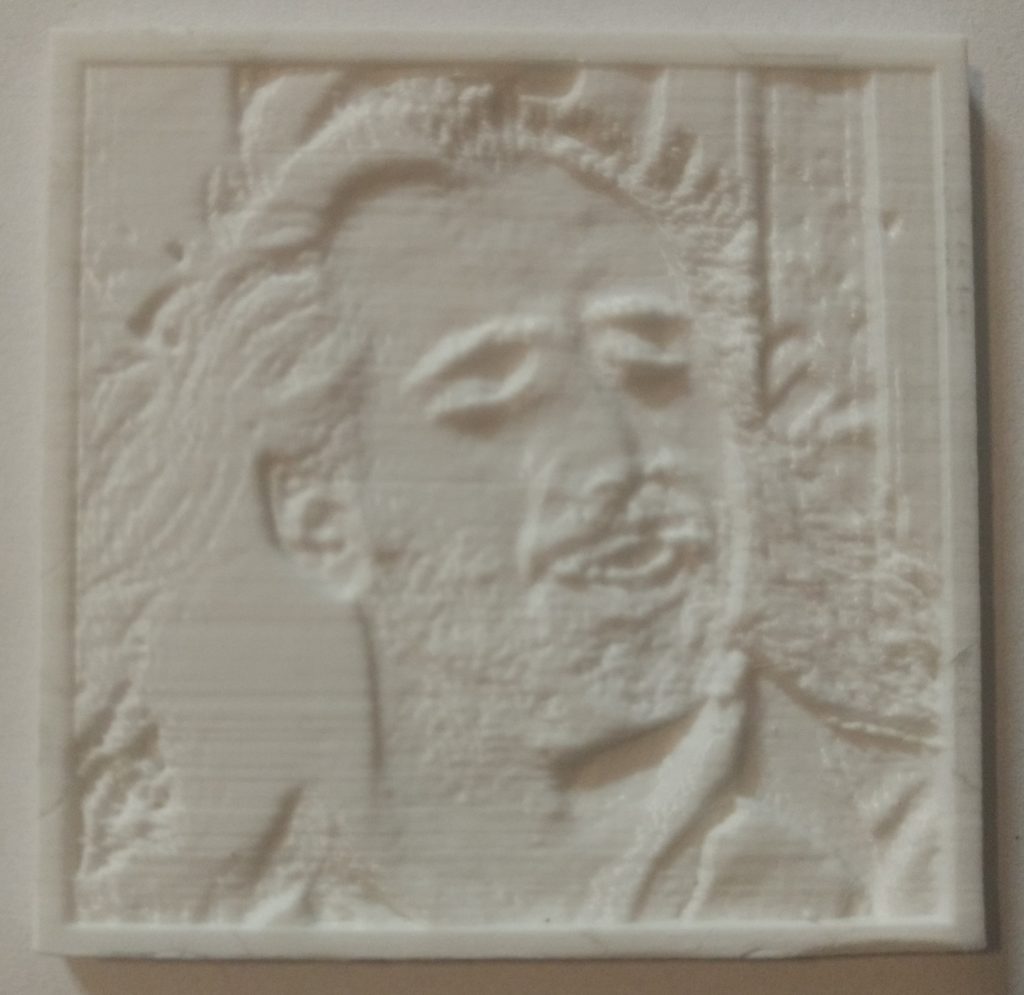
Wait hold on…
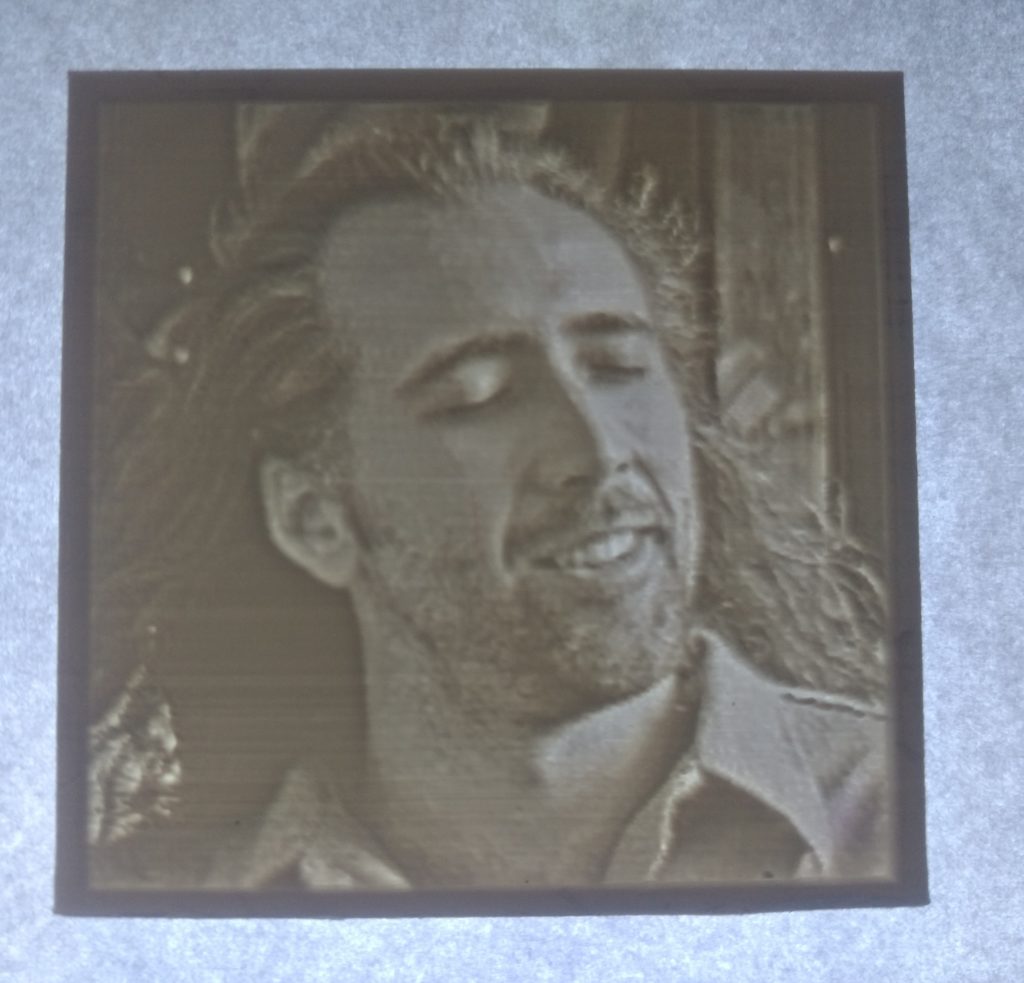
These are 50mm square 3D-printed lithophanes. A lithophane is an object that uses the variable thickness of the material to create a two-dimensional image. Basically there is more material on “darker” parts of the image, which results is less light being able to shine through. This is the awesome website I used:
I have been playing around with these for a few weeks now and I wanted to run some “tests” to see if certain settings affected the print quality. The three things I tested were:
- Layer Height (0.0875 vs 0.1313, smaller height means more detail but longer print time (These heights are specific to this printer!))
- Number printed at once (does the printer skipping around printing a bunch at once create weird layers or anything)
- Orientation (Flat on bed vs Vertical)
For all the tests I used a Monoprice Select Mini V2 using white Hatchbox PLA and the same STL file.
Website Settings
Model Settings
- Maximum Size: 50mm
- Thickness: 3mm
- Border: 2 mm
- Thinnest layer: 0.8mm
Image Settings
- Set to POSITIVE IMAGE
The other settings I left as-is.
Printer (Cura) Settings
- Hotend Temp: 205
- Bed Temp: 60
- Infill: 100%
- Retraction Distance: 7mm
- Retraction Speed: 30 mm/s
- Print Speed: 50mm/s
- Support: None
- Adhesion: Brim, 12mm
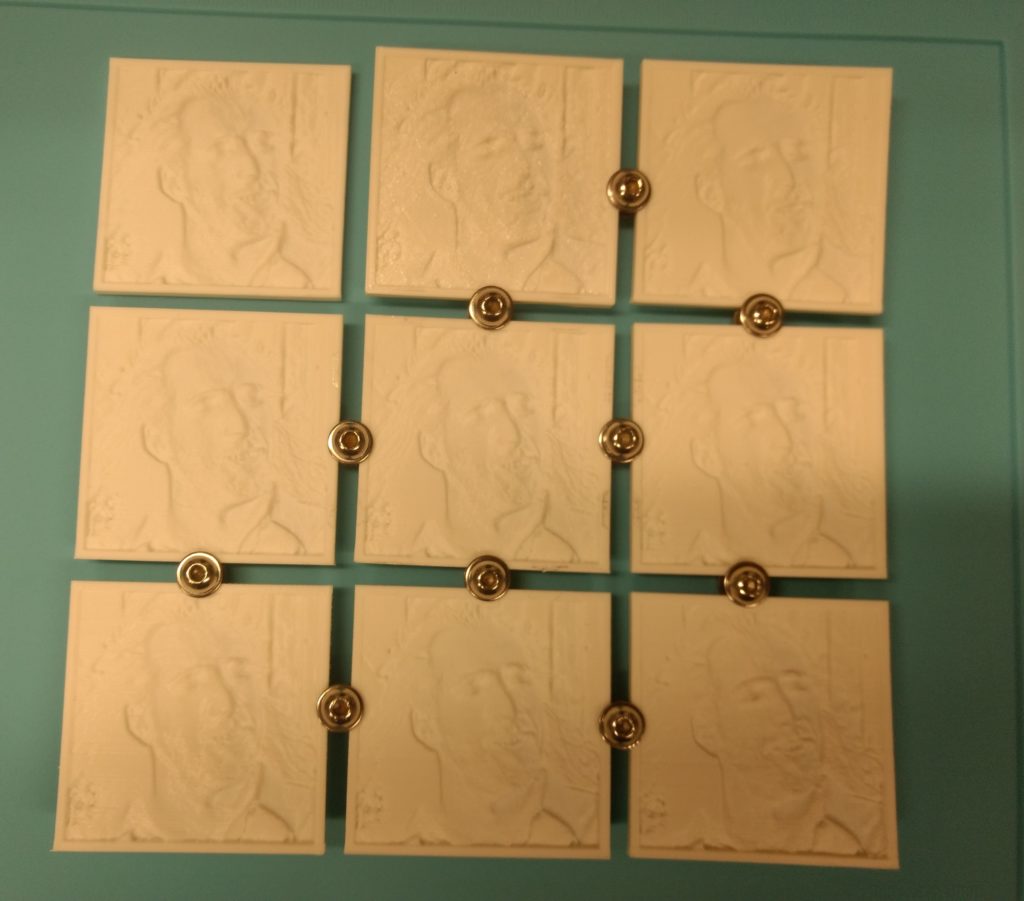
In order to be scientific and whatnot I printing NINE of these. For YOU:
| Print Number | Test Variables |
| No. 1 | Only one printed, vertical, Layer Height: 0.0875 |
| No. 2-4 | Three printed simultaneously, vertical, Layer Height 0.0875 |
| No. 5 | Only one printed, horizontal (flat on bed) Layer Height 0.0875 |
| No. 6-9 | Four printed simultaneously, vertical, Layer Height 0.1313 |
And here are the results:
This is after minimal post-print processing, I basically just trimmed excess off the edges.
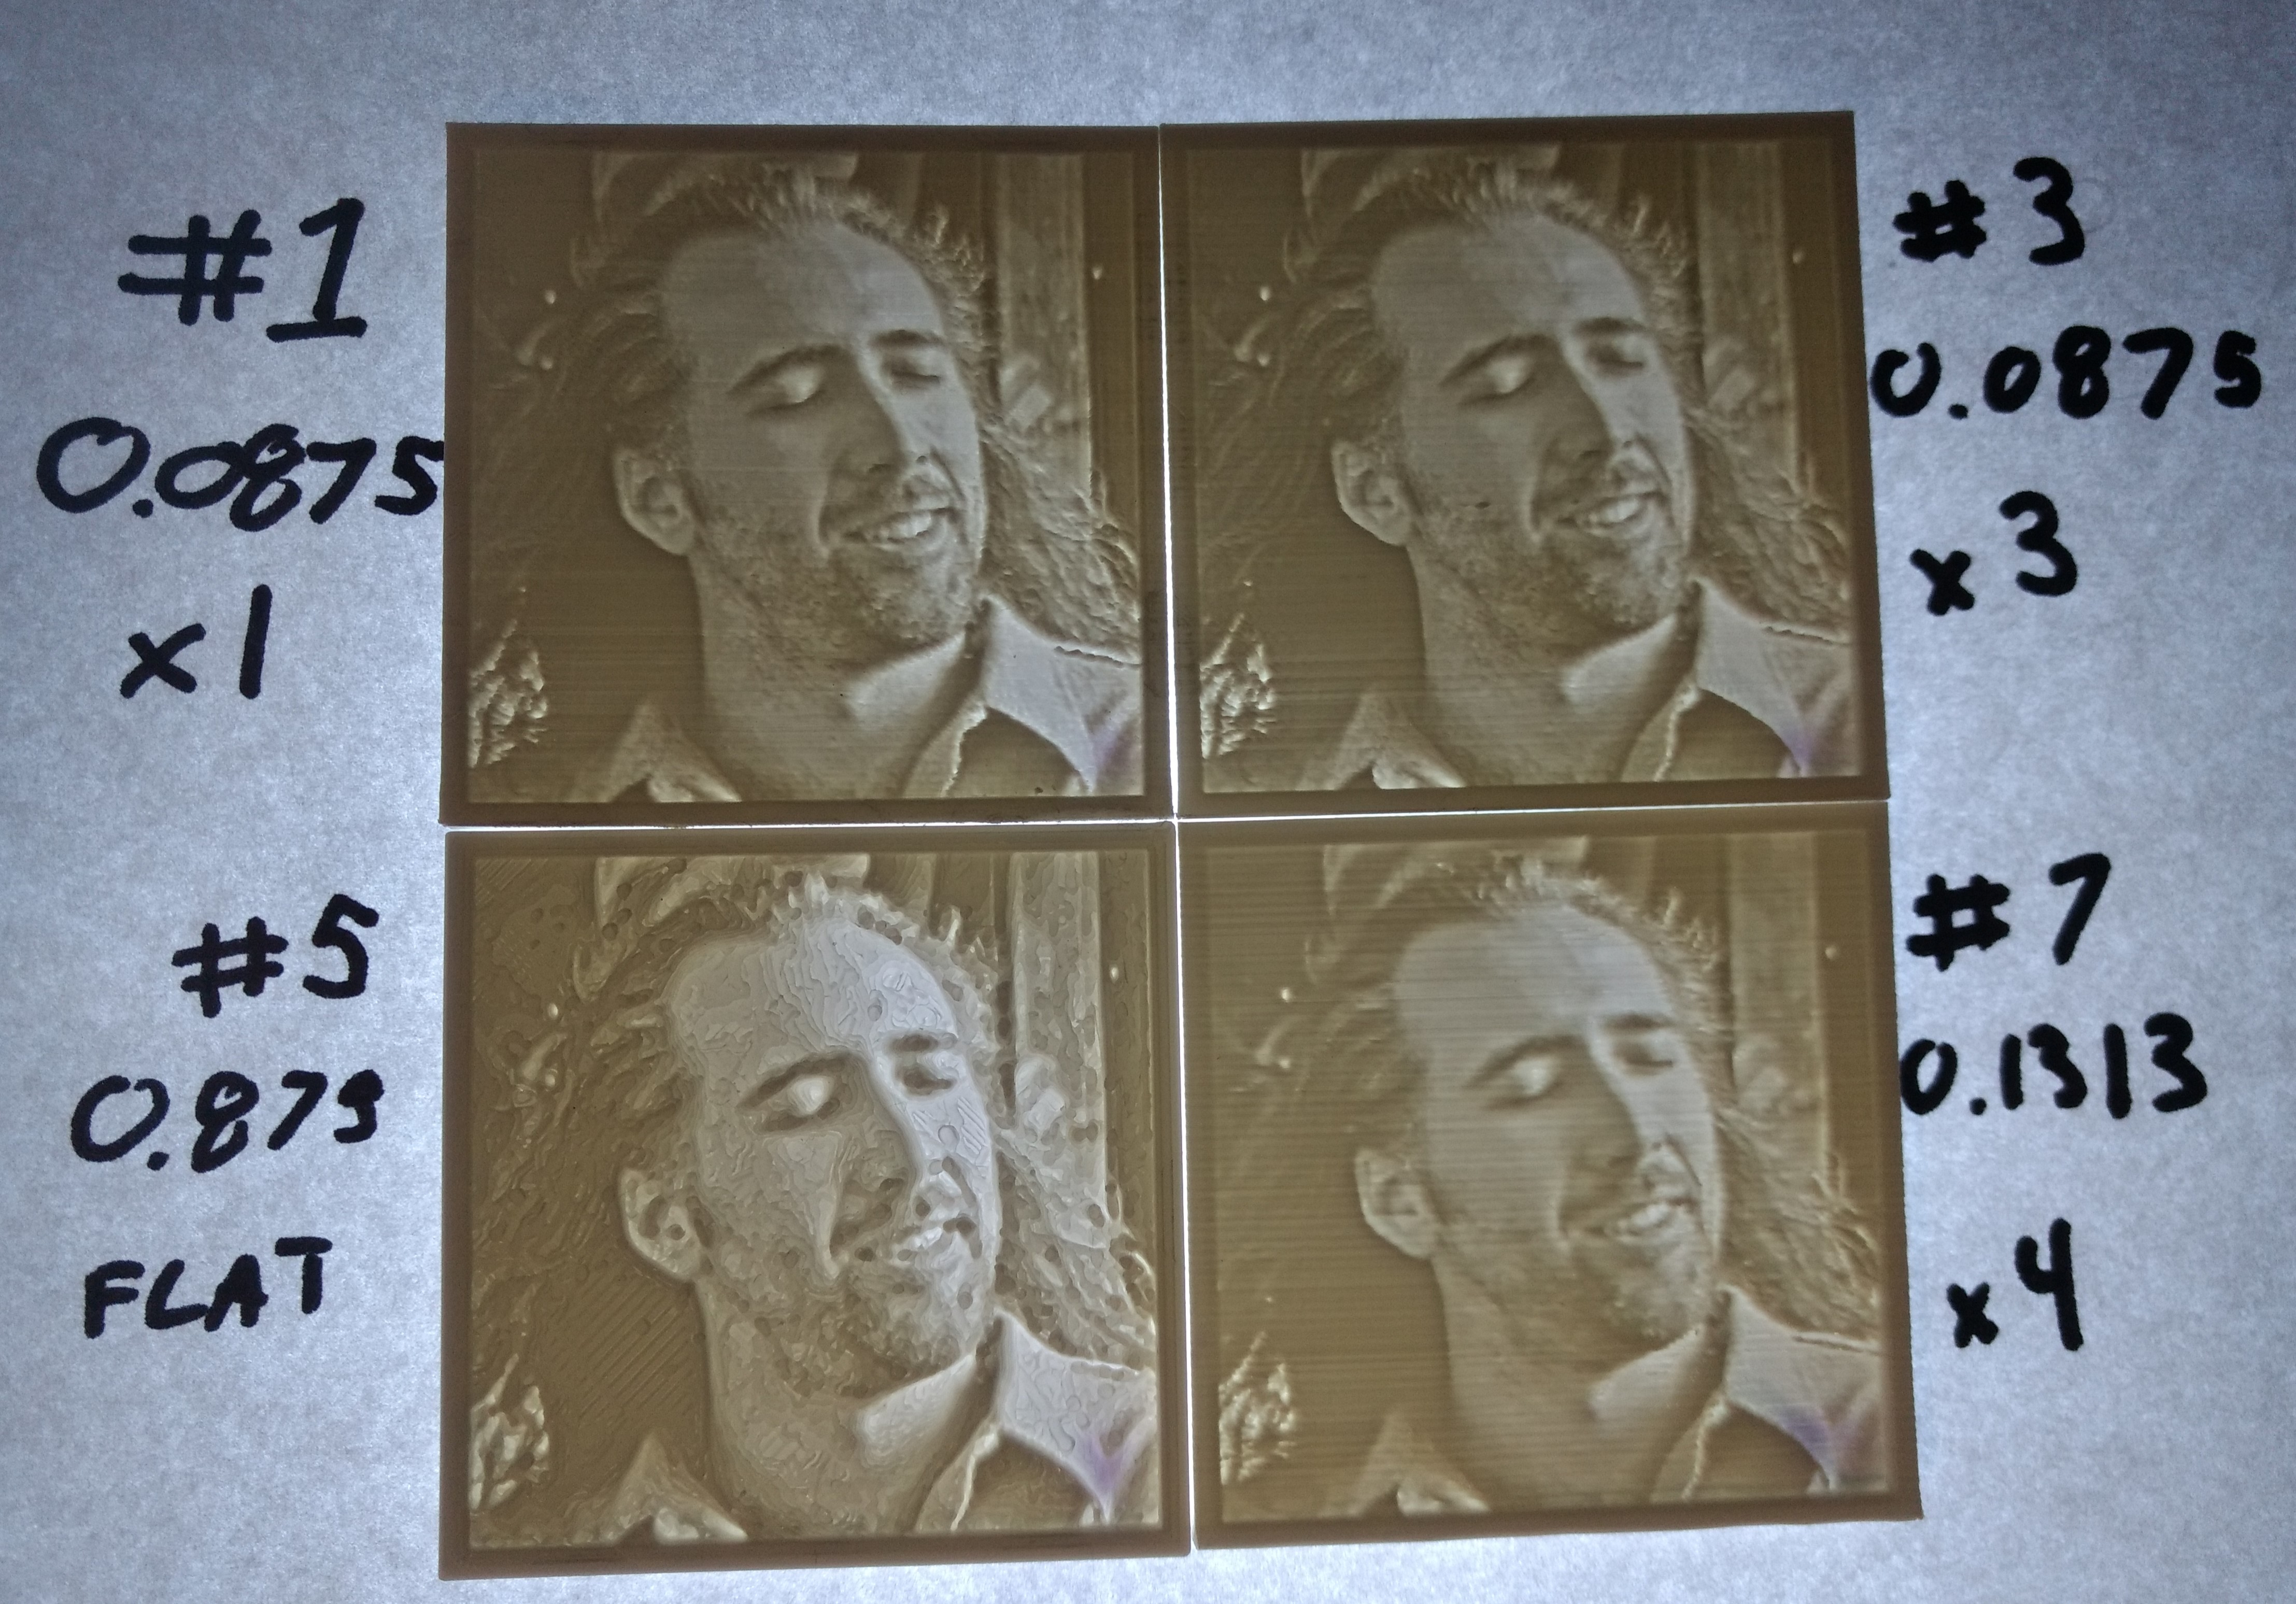
For starters, #5 looks nuts. It’s actually kind of a cool effect. This is the one that was printed flat on the bed. I read beforehand that you’re supposed to print them vertically because the X and Y axis are capable of much finer details. Or something to that effect.
#7 looks obviously worse than #1 and #3. This is due to the layer height being double the others. On the other hand, it printed twice as quickly.
I think it’s a toss-up between #1 and #3 as far as quality of print. While the print run for the #3 was three times as long as #1, it also gave me three copies, which saved me time not having to reset the printer and whatnot (I think it was like 8 hours?). There is a tiny blob on his cheek that is not there on the other prints from that run (#2 or #4) but who’s to say that is a product of three printing simultaneously.