
….are super cool.
I read about using them on 3D printed projects and thought I would try them, so I ordered a bag of 100 off Amazon (these specifically). These specific ones are “M3 x 5mm x 5.3mm ” which means they are designed for M3 standard bolts, are 5mm deep and 5.3mm wide.
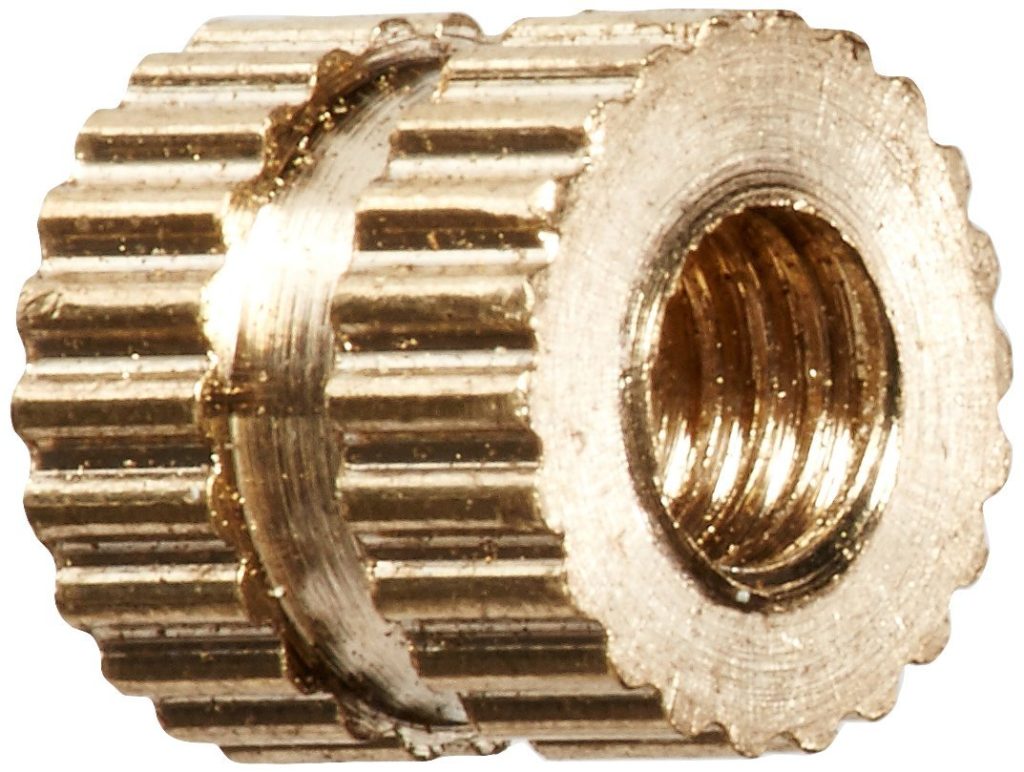
Side Note: If you are going to be designing projects and printing them I highly recommend getting a box of assorted M3 bolts/nuts (I also have a box of M3 through M6 which I have used.) Available on Amazon!
This is how they work:
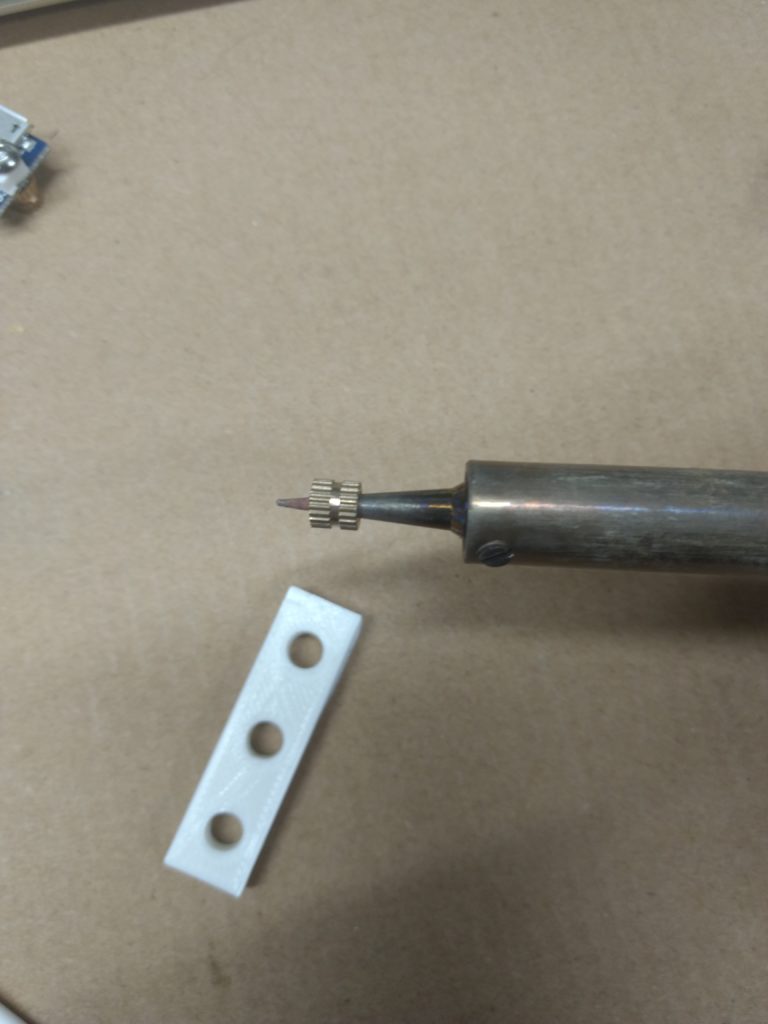
You print something that has a hole approximately 5mm (or more) deep and 5.3mm wide. At first I wasn’t sure about exactly how wide the hole needed to be so I printed a test board that had three holes (5.3mm, 5.35mm, and 5.4mm).

Then you heat up your soldering iron, put the insert onto the end, give it a second, then carefully push the insert/soldering iron into the hole.
I didn’t take any pictures of that last step because I needed both hands. It turns out my precise measurements did not matter AT ALL as PLA melts SUPER EASILY, as that is it’s entire purpose.
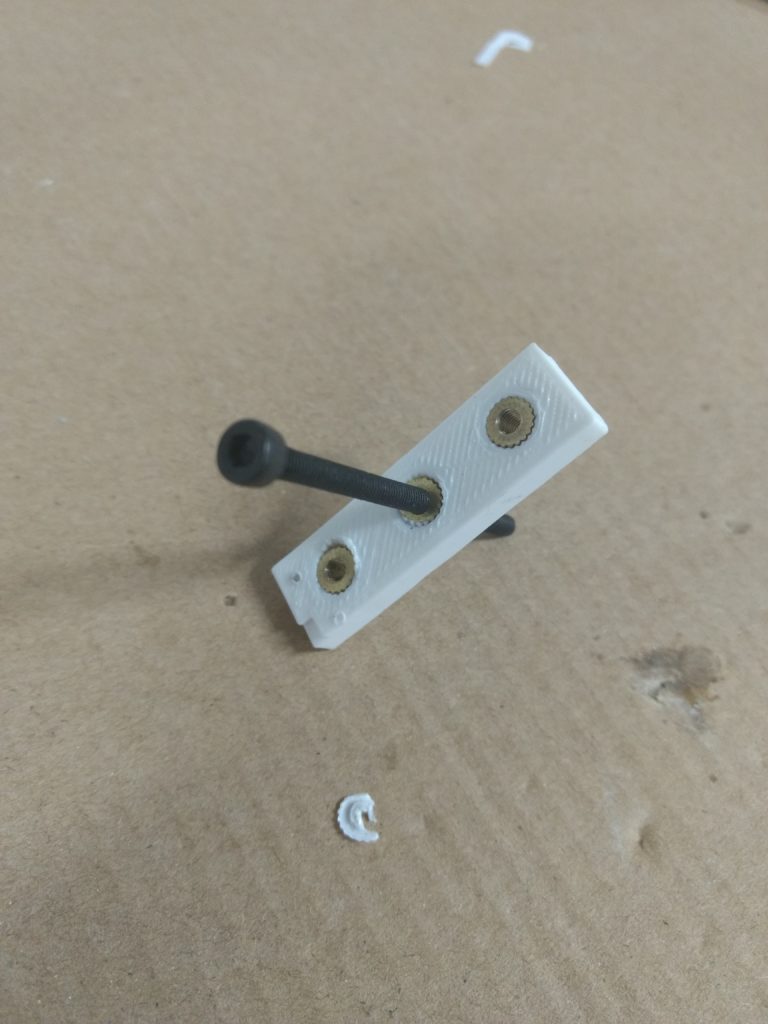
I managed to get all three in passably well, but I am glad I practiced because I could definitely see messing up an entire print by trying to insert these suckers. The trick is to remove the soldering iron from the insert as soon as it is in while leaving in the insert (I used needlenose pliers). It is shocking (well maybe not) how quickly the entire thing started to soften and melt with the soldering iron in place.
I will probably be using these for the MkII reading lamp, as they are cool and I like them.